github hexo blog framework를 이용해서 꾸며보기 + icarus theme 적용해보기 (1)
jekyll vs Hexo
jekyll
Transform your plain text into static websites and blogs.
github blog를 만들 때 정말로 많은 사람들이 사용하고 있는 blog framework이다.
내가 사용하면서 느낀 것은 처음 블로그를 만드는데 있어서 정말로 쉽고 일단 자료가 굉장히 많아서 적용하기가 쉽다.
그리고 테마도 굉장히 많다. 그러기에 자신이 원하는 디자인이나 특정 느낌을 내기가 매우 쉽다.
하지만 개인적으로 로컬에서 돌려보고 테스트를 위해 서버를 동작할 때 굉장히 신경을 많이 써야되는 이슈가 있었고 그러다보니 주기적으로 blog에 올라온 글을 보고 debugging을 해야했다. (이건 나같은 경우에만 그럴 것 같다…)
Hexo
A fast, simple & powerful blog framework
일단 jekyll을 사용하면서 불편하던 테스트 관련해서 조금 더 쉽게 처리할 수 있는 부분.
그리고 정말로 깔끔하고 적용해보고 싶은 테마가 존재했기 때문에 이사를 가고 싶었다.
일단 다른 것들보다 npm에 익숙한 부분이 있어서 커스텀하기도 편할 것 같다는 생각을 했었다.
Hexo 사부작 사부작 해보기
기본적으로 Mac을 이용해서 설치 및 적용하는 모습을 보여줄 예정입니다. 혹시 다른 OS를 이용하고 있다면 Document를 참고하세요.
cli 설치
일단 hexo 명령어를 사용하기 위해서 cli를 설치해한다. (npm이 설치되어 있지 않다면 그것도 같이 설치하기 바란다.)
$ npm install hexo-cli -g (sudo가 필요할지도)

changed 58 packages, and audited 59 packages in 1s

11 packages are looking for funding
  run `npm fund` for details

found 0 vulnerabilities
Hexo cli
$ hexo help
Usage: hexo <command>

Commands:
  help     Get help on a command.
  init     Create a new Hexo folder.
  version  Display version information.

Global Options:
  --config  Specify config file instead of using _config.yml
  --cwd     Specify the CWD
  --debug   Display all verbose messages in the terminal
  --draft   Display draft posts
  --safe    Disable all plugins and scripts
  --silent  Hide output on console

For more help, you can use 'hexo help [command]' for the detailed information
or you can check the docs: http://hexo.io/docs/
hexo help를 하게 되면 가볍게 어떤 명령어가 있는지 볼 수 있다.
프로젝트를 만들기 위해서 init 이라는 명령어를 사용하면된다.
$ haxo init hello-world
INFO  Cloning hexo-starter https://github.com/hexojs/hexo-starter.git
INFO  Install dependencies
INFO  Start blogging with Hexo!

---

$ ls | grep hello-world
hello-world

$ ls -al hello-world
total 336
drwxr-xr-x   12 user  staff     384  8 15 15:35 .
drwx------@  75 user  staff    2400  8 15 15:35 ..
drwxr-xr-x    3 user  staff      96  8 15 15:35 .github
-rw-r--r--    1 user  staff      65  8 15 15:35 .gitignore
-rw-r--r--    1 user  staff       0  8 15 15:35 _config.landscape.yml
-rw-r--r--    1 user  staff    2441  8 15 15:35 _config.yml
drwxr-xr-x  218 user  staff    6976  8 15 15:35 node_modules
-rw-r--r--    1 user  staff  156567  8 15 15:35 package-lock.json
-rw-r--r--    1 user  staff     615  8 15 15:35 package.json
drwxr-xr-x    5 user  staff     160  8 15 15:35 scaffolds
drwxr-xr-x    3 user  staff      96  8 15 15:35 source
drwxr-xr-x    3 user  staff      96  8 15 15:35 themes
이렇게 hello-world 라는 폴더가 만들어진 것을 볼수가 있다. 그리고 이것저것 만들어진 것을 볼수가 있다.
여기서 npm install을 하게 되면 blog을 실행시키기 위해서 필요한 라이브러리들이 모두 설치된다.
실행해보기
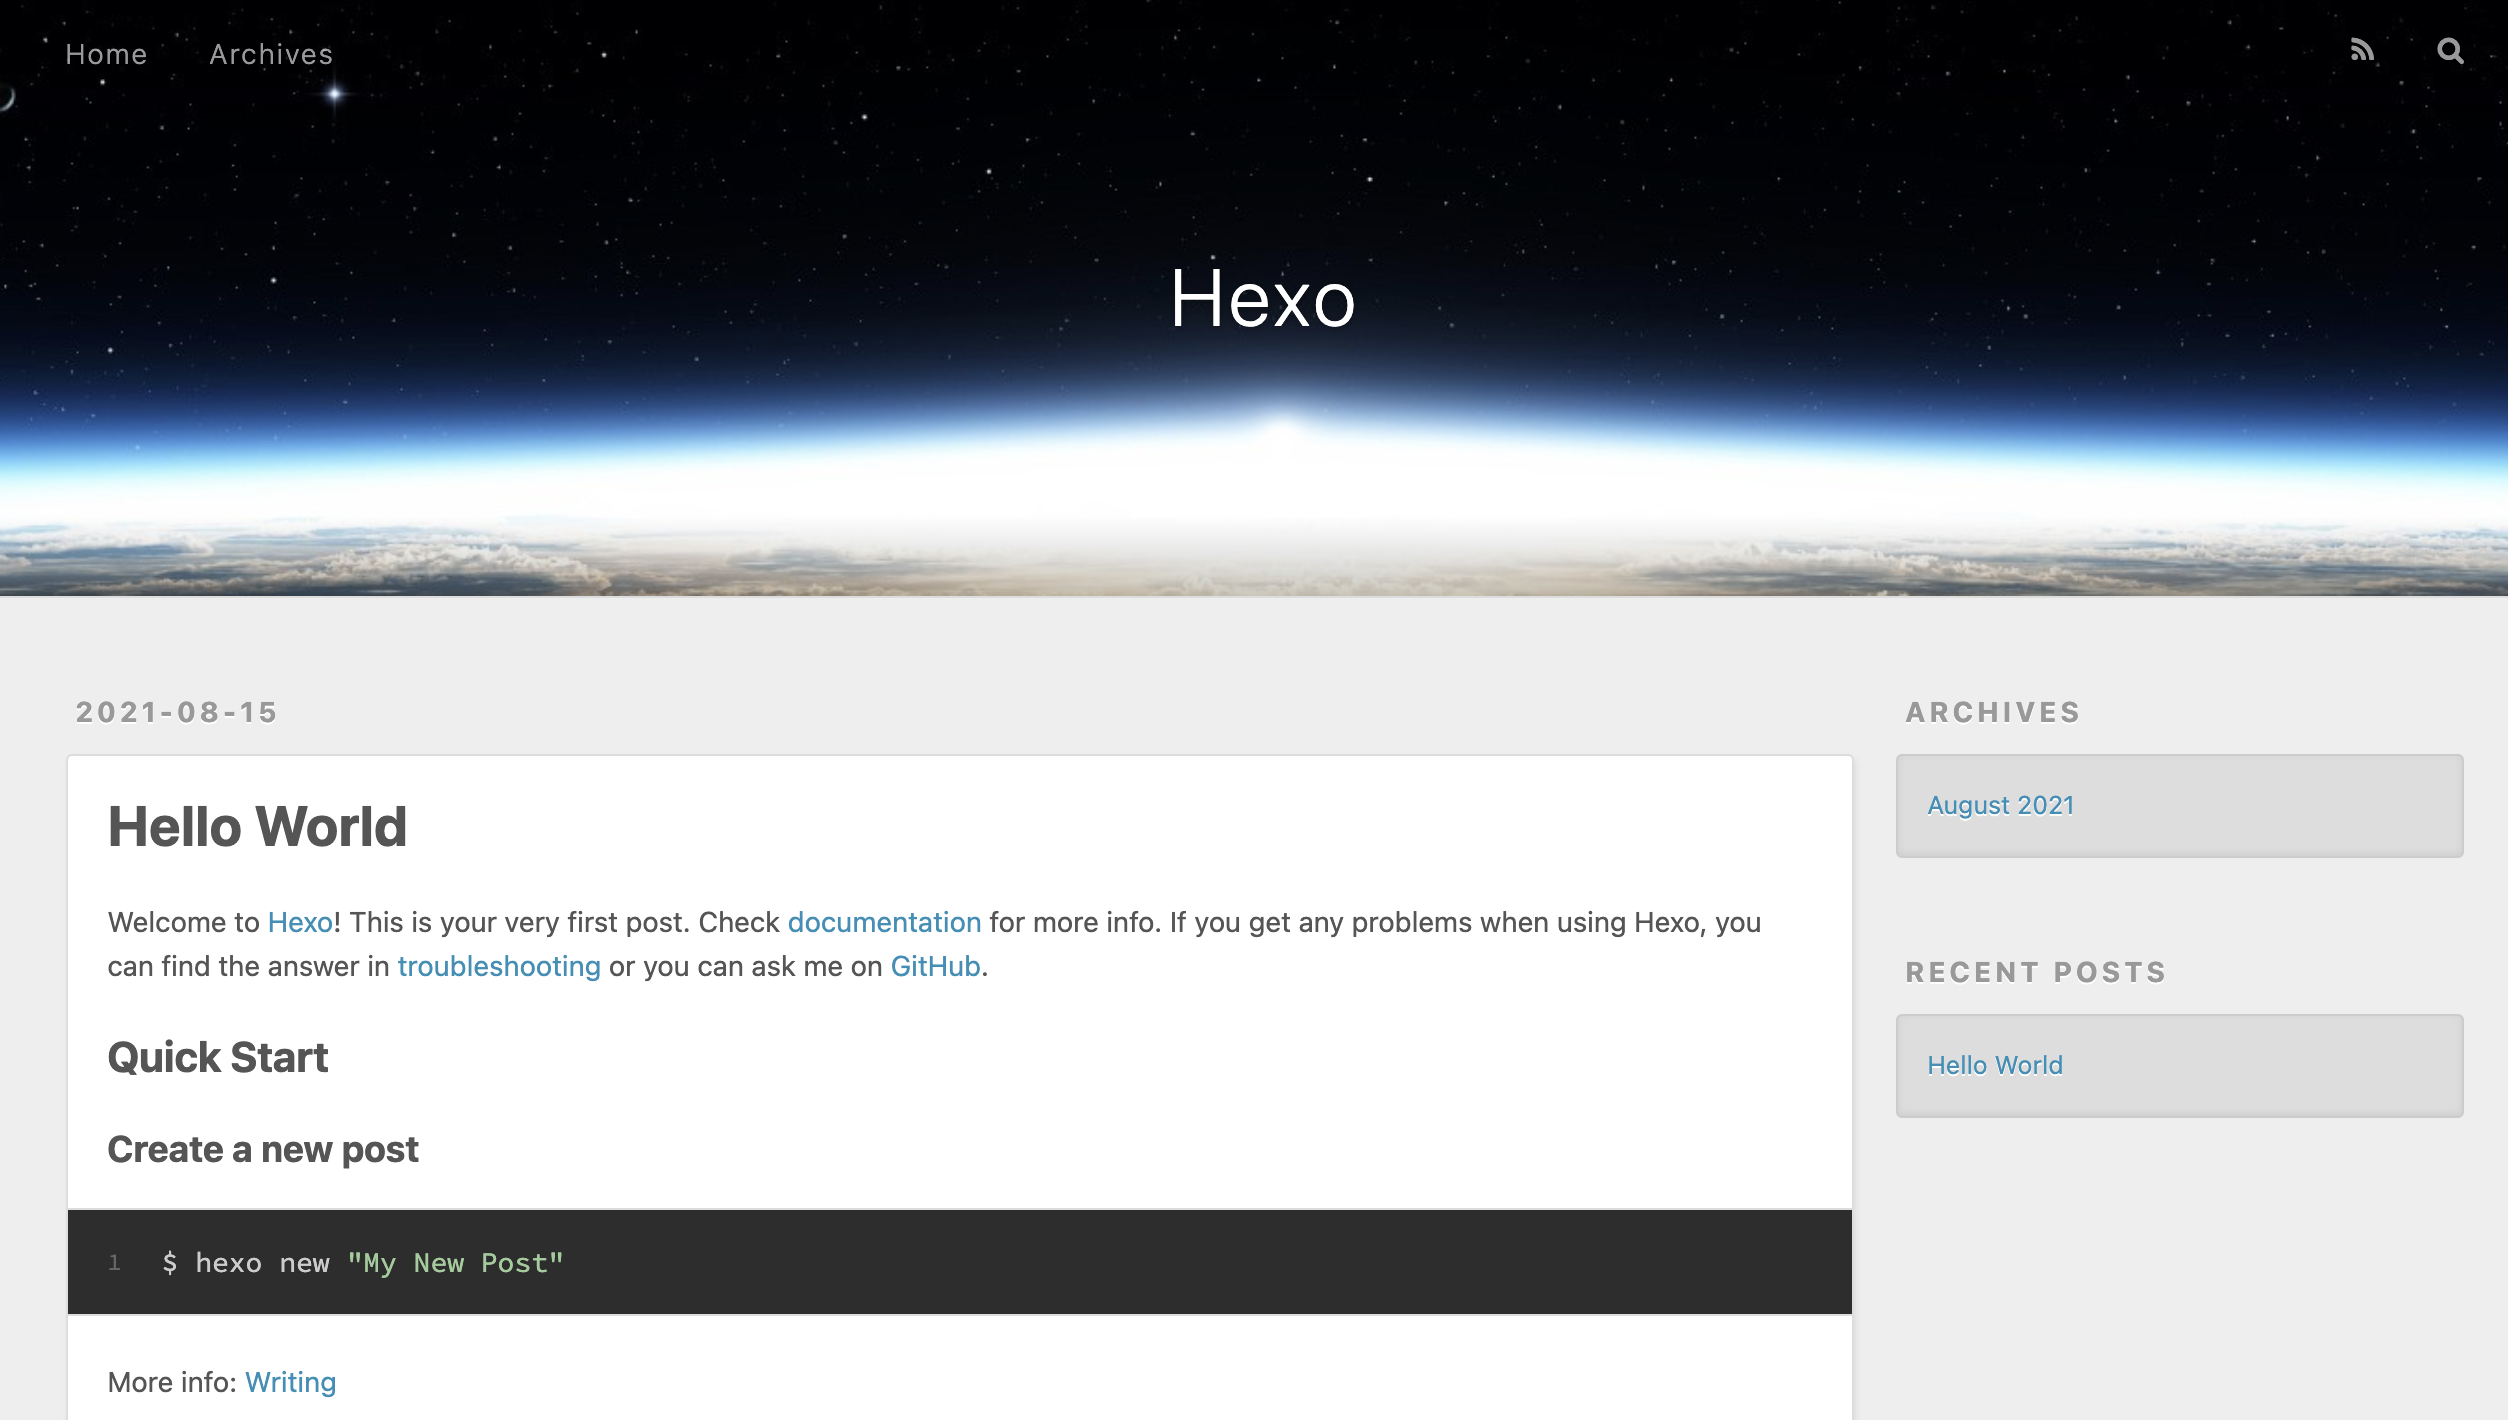
라이브러리 설치 이후에 hexo server을 하게 되면 현재 hexo 프로젝트를 실행하게 된다.
$ hexo server
INFO  Validating config
INFO  Start processing
INFO  Hexo is running at http://localhost:4000 . Press Ctrl+C to stop.
위에 실행 결과에 보이는 주소(http://localhost:4000)에 들어가보자.
Icarus theme 적용해보기
icarus theme를 적용하기 위해서 2가지 방법이 있다. link
github clone을 이용한 방법으로 진행해보겠다. 해당 방법을 이용하게 되면 theme라는 폴더에 icarus 내용이 들어가서 나중에 커스텀하기 편하다. npm을 이용한 방식은 node_module에 들어가는 것으로 알고 있다.
theme 가져오기
$ git clone https://github.com/ppoffice/hexo-theme-icarus.git themes/icarus -b <version number> --depth 1

현재 글을 쓰고 있는 지금 가장 최신 버전은 4.4.0 버전이다.

$ git clone https://github.com/ppoffice/hexo-theme-icarus.git themes/icarus -b 4.4.0 --depth 1
테마 적용하기
$ hexo config theme icarus
이렇게 한 이후에 다시 실행해보자.
$ hexo server

INFO  Validating config
INFO  =======================================
 ██╗ ██████╗ █████╗ ██████╗ ██╗   ██╗███████╗
 ██║██╔════╝██╔══██╗██╔══██╗██║   ██║██╔════╝
 ██║██║     ███████║██████╔╝██║   ██║███████╗
 ██║██║     ██╔══██║██╔══██╗██║   ██║╚════██║
 ██║╚██████╗██║  ██║██║  ██║╚██████╔╝███████║
 ╚═╝ ╚═════╝╚═╝  ╚═╝╚═╝  ╚═╝ ╚═════╝ ╚══════╝
=============================================
INFO  === Checking package dependencies ===
ERROR Package bulma-stylus is not installed.
ERROR Package hexo-renderer-inferno is not installed.
ERROR Package hexo-component-inferno is not installed.
ERROR Package inferno is not installed.
ERROR Package inferno-create-element is not installed.
ERROR Please install the missing dependencies your Hexo site root directory:
ERROR npm install --save bulma-stylus@0.8.0 hexo-renderer-inferno@^0.1.3 hexo-component-inferno@^0.13.0 inferno@^7.3.3 inferno-create-element@^7.3.3
ERROR or:
ERROR yarn add bulma-stylus@0.8.0 hexo-renderer-inferno@^0.1.3 hexo-component-inferno@^0.13.0 inferno@^7.3.3 inferno-create-element@^7.3.3
그러면 위에 처럼 이상한 에러메시지가 엄청 뜨는 것을 볼 수 있다. 이런 경우 의존성이 있는데 설치가 안된 경우이기에 따로 설치를 해줘야 된다. 안내대로 한번 해당 라이브러리들을 설치해보자.
$ npm install --save bulma-stylus@0.8.0 hexo-renderer-inferno@^0.1.3 hexo-component-inferno@^0.13.0 inferno@^7.3.3 inferno-create-element@^7.3.3
added 195 packages, and audited 435 packages in 6s
25 packages are looking for funding
run `npm fund` for details
found 0 vulnerabilities
---
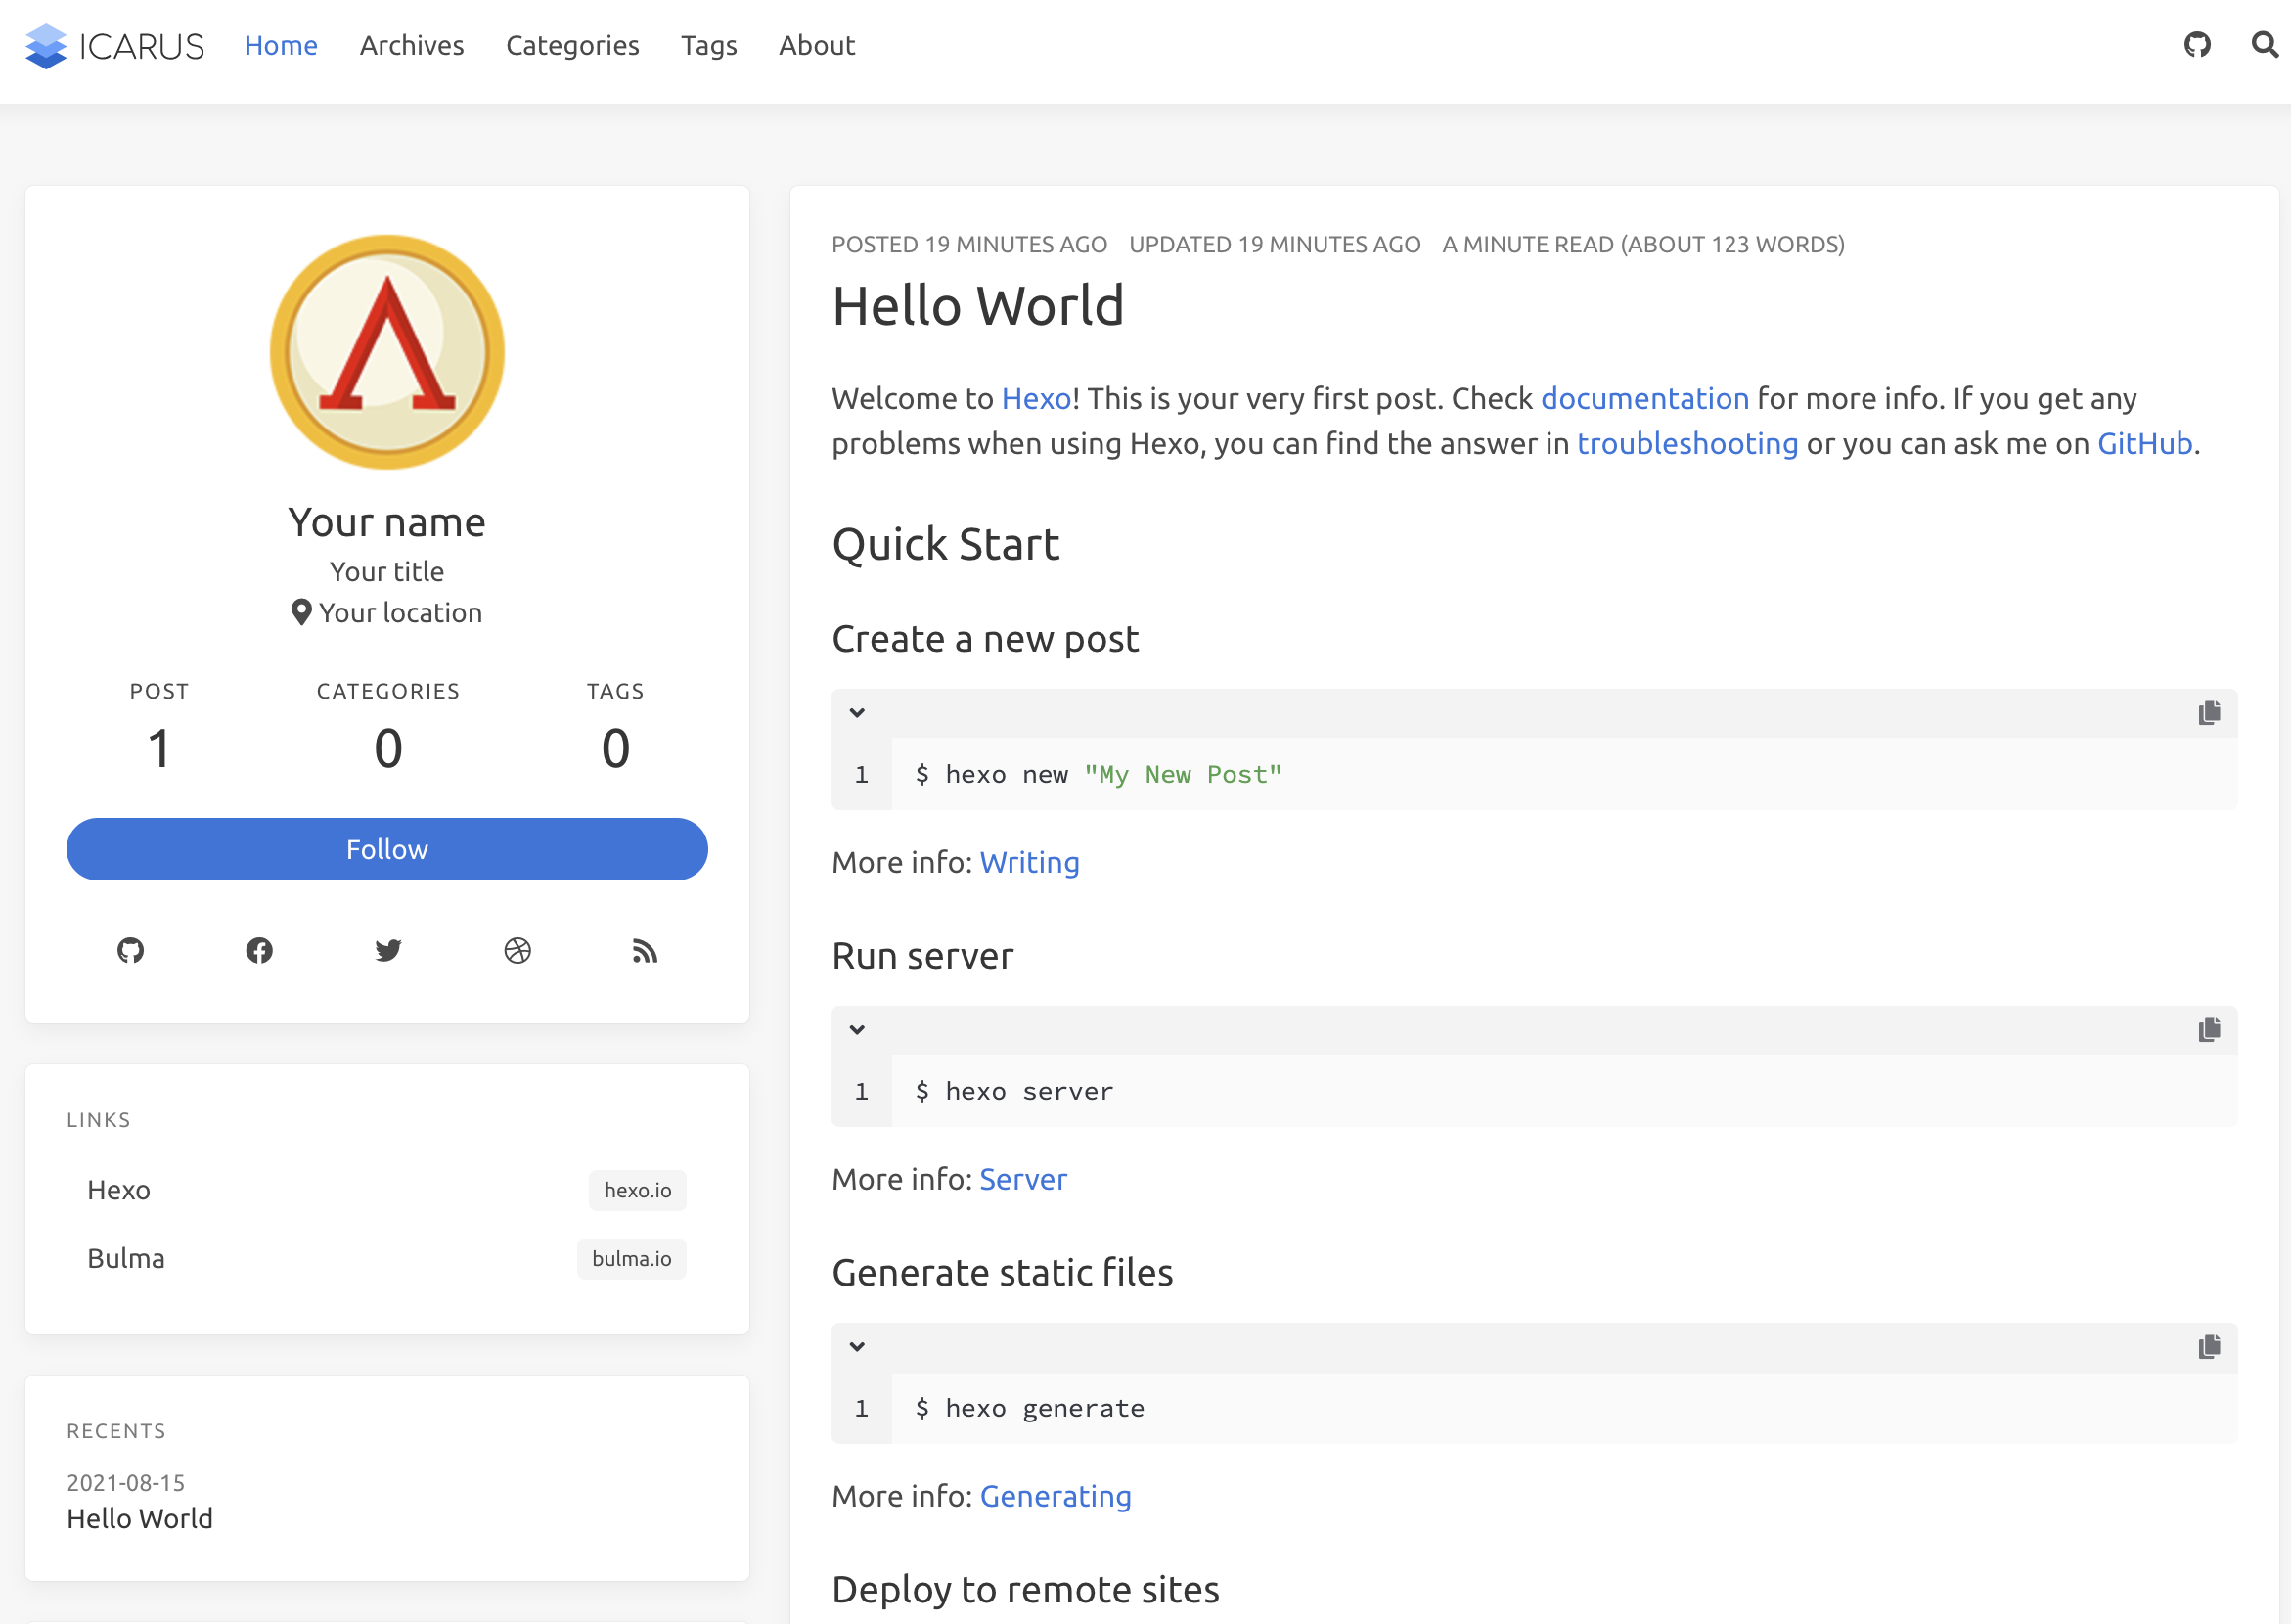
$ hexo server
이렇게 실행하게 되면 이젠 아주 만족스러운 태마 적용이 끝나게 된다. 만약 해당 이미지처럼 보이지 않거나 만약 처음 실행했을 때 이상한 warn 메시지를 봤다면 hexo server를 취소하고 다시 실행하는 것을 추천한다.
마무리
지금까지 hexo blog framework 적용과 icarus theme를 적용해보았다.
다음 시간에는 jekyll blog framework에서 hexo로 옮기는 과정을 보여주겠다!

Leave a comment